

Plumbing issues are among the most common home maintenance headaches, but not every drip, clatter, or slow drain warrants an expensive service call. Many minor plumbing problems can be resolved safely and effectively using basic tools, a few replacement parts, and a little straightforward troubleshooting. Knowing how to handle simple plumbing repairs empowers homeowners to maintain their property, prevent water waste, and save substantial money over time.
Before attempting any repair, safety must come first. Understanding which projects are suitable for a quick home fix—and knowing when a job requires a licensed professional—ensures your plumbing system remains functional without risking costly water damage.
Essential Tools and Safety Precautions for Home Plumbing
Handling minor plumbing issues requires a modest collection of basic tools and safety supplies. Keeping these items organized and accessible allows you to respond promptly when a minor leak or clog occurs.
-
Standard and Adjustable Wrenches: Necessary for loosening and tightening pipe fittings, supply lines, and fixture nuts.
-
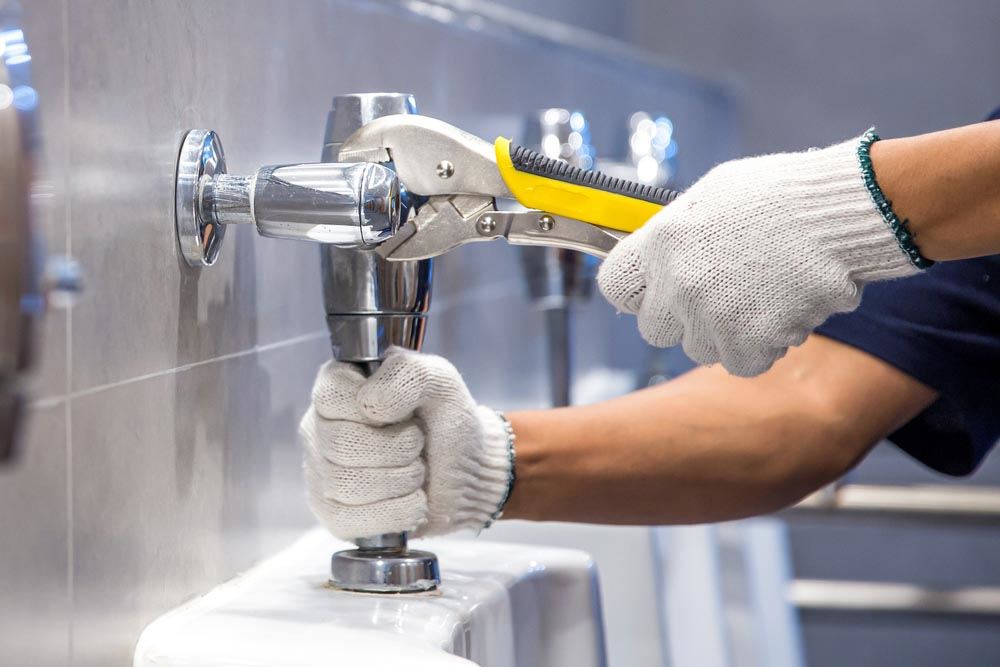
Tongue-and-Groove Pliers: Often referred to as channel-lock pliers, these tools provide the leverage needed to grip smooth, round pipe surfaces.
-
Plungers: Keep both a standard cup plunger for flat sink drains and a flange plunger specifically designed for toilets.
-
Hand-Crank Drain Snake: A manual auger helps clear stubborn blockages located beyond the reach of a plunger without relying on harsh chemicals.
-
Thread Seal Tape: Often called Teflon tape, this thin tape seals threaded pipe joints to prevent slow water leaks.
-
Safety Gear: Always wear protective gloves and eye protection when working around drain pipes, standing water, or cleaning agents.
The absolute golden rule of home plumbing is locating and turning off the water supply before starting any work. For individual fixtures, look for the local shutoff valve, typically located under the sink or behind the toilet. If a local valve is stuck or missing, turn off the main water shutoff valve for the entire house.
How to Fix a Running Toilet
A running toilet is a frequent annoyance that can waste hundreds of gallons of water each week. Fortunately, the internal mechanisms of a toilet tank are simple and easy to repair without specialized training.
Inspect the Flapper Valve
Remove the toilet tank lid and set it safely on a flat, padded surface. Flush the toilet and observe the rubber flapper valve at the bottom of the tank. Over time, rubber flappers deteriorate, warp, or accumulate mineral deposits, preventing them from creating a tight seal over the flush valve opening.
If the flapper appears worn or misaligned, disconnect the chain from the flush lever, unclip the old flapper from the overflow tube, and replace it with a universal rubber flapper from a local hardware store. Adjust the chain length so it has a small amount of slack when the handle is at rest.
Adjust the Water Fill Level
If the water level in the tank continues to rise until it spills over into the central overflow tube, the fill valve float is set too high.
For older float ball mechanisms, gently turn the adjustment screw located on top of the fill valve counterclockwise to lower the float. For modern cylinder float valves, pinch the metal release clip and slide the float down along the vertical fill column. Adjusting the float ensures the water level stops approximately one inch below the top of the overflow tube.
Unclogging Drains Without Chemical Cleaners
Liquid chemical drain openers are often marketed as quick fixes for slow drains, but they contain harsh chemicals that can corrode metal pipes, damage plastic connections, and generate toxic fumes. Mechanical methods offer safer, far more effective solutions.
Unclogging Bathroom Sinks with a Zip Tool
Hair, soap scum, and toothpaste frequently accumulate near the top of bathroom sink drains, particularly around the pop-up stopper assembly.
Remove the pop-up stopper by pulling it straight up or loosening the pivot nut located behind the drain pipe under the sink. Insert a flexible plastic drain zip tool into the drain opening, twist it gently, and pull it back up to remove accumulated hair and debris. Flush the drain with hot water to verify clear flow, and replace the stopper assembly.
Clearing Kitchen Sinks with a Cup Plunger
Kitchen sinks often slow down due to grease, food particles, and soap buildup.
If you have a double-basin kitchen sink, seal the clear drain opening tightly using a wet cloth or rubber stopper. Place a cup plunger directly over the clogged drain, ensuring a tight seal against the sink bottom. Push down gently to force out trapped air, then plunge vigorously up and down for fifteen to twenty seconds. The hydraulic pressure will break up the soft clog, allowing water to drain freely.
Fixing a Leaky Faucet Aerator or Spout
A dripping faucet is typically caused by worn internal components that are inexpensive and simple to replace.
Cleaning or Replacing the Faucet Aerator
If water sprays unevenly from your faucet or flows at a low pressure, the aerator located at the tip of the spout is likely clogged with mineral scale or sediment.
Unscrew the aerator counterclockwise using your fingers or a pair of pliers wrapped in a cloth to prevent scratching the finish. Disassemble the small mesh screens, soak them in warm white vinegar for thirty minutes to dissolve mineral buildup, brush away remaining debris with an old toothbrush, and screw the clean aerator back onto the spout.
Replacing Worn O-Rings and Cartridges
If the leak persists from the base of the handle or spout, turn off the water supply under the sink, open the faucet to relieve pressure, and unscrew the handle retaining screw hidden under the decorative index cap. Remove the handle to access the internal stem cartridge or rubber O-rings. Take the worn parts to a plumbing supply store to find exact matches, reassemble the components, and restore the water supply.
Repairing a Leaky Sink P-Trap
The curved pipe beneath your sink, known as the P-trap, holds a small standing pool of water that prevents sewer gases from entering your home. Because water sits in this trap continuously, small leaks can develop around the slip-nut connections.
Place a small bucket beneath the sink to catch residual water. Loosen the plastic or brass slip nuts at both ends of the curved P-trap by hand or using tongue-and-groove pliers. Slide the old rubber washers off the pipe ends, thoroughly wipe away any accumulated sludge or grit from the pipe threads, and slide fresh rubber or plastic slip-joint washers into position. Hand-tighten the slip nuts securely, followed by a quarter-turn with pliers. Avoid over-tightening plastic fittings, as this can crack the threads.
When to Call a Licensed Professional Plumbing Service
While simple surface repairs and drain clearings are well within the scope of DIY home maintenance, certain plumbing situations require professional expertise and specialized machinery:
-
Sewer Main Line Backups: If multiple drains throughout your home gurgle or back up simultaneously, the issue likely resides in the main sewer line.
-
Gas Line Connections: Any work involving natural gas or propane lines powering water heaters or stoves should always be handled by certified technicians.
-
Internal Wall Leaks: Water stains on walls, ceilings, or subfloors indicate hidden pipe leaks that require professional detection tools and structural repair.
-
Water Heater Repairs: Installing or servicing tankless or traditional high-voltage electric and gas water heaters involves significant electrical, pressure, and thermal safety hazards.
Frequently Asked Questions
How do I loosen a frozen water shutoff valve under my sink without breaking it?
Spray the valve stem and threads liberally with a penetrating oil spray and let it sit for fifteen to twenty minutes. Apply gentle pressure using an adjustable wrench or pliers, tapping the valve body lightly with a small mallet to help break the internal corrosion. If the valve refuses to turn or feels like it will snap, shut off the main house water supply before applying firmer force.
What should I do if an object like a piece of jewelry falls down the bathroom sink drain?
Do not run any more water down the drain. Place a bucket beneath the sink and carefully remove the cleanout plug on the bottom of the curved P-trap, or unscrew the slip nuts to remove the trap entirely. The heavy metallic object will almost always be resting safely in the standing water at the bottom of the trap bend.
Why does my garbage disposal hum without spinning, and how can I fix it safely?
A humming disposal indicates the motor is receiving electricity, but the internal impellers are jammed by hard debris. Unplug the unit or switch off its dedicated circuit breaker at the main electrical box. Insert a quarter-inch Allen wrench into the hex socket located in the center of the disposal bottom and crank it back and forth to clear the jam manually before resetting the thermal overload button on the bottom.
Is Teflon thread seal tape necessary for every threaded pipe connection?
Teflon tape should be used on tapered male pipe threads designed to create a mechanical metal-to-metal or plastic-to-plastic seal, such as shower arm connections and pipe nipples. It should not be used on compression fittings, hose connections, or slip nuts that rely on rubber washers, O-rings, or brass ferrules to block water flow.
How can I remove heavy mineral scale buildup from my shower head?
Fill a plastic bag halfway with warm white vinegar, submerge the shower head completely in the liquid, and secure the bag around the pipe neck using a rubber band or zip tie. Allow the shower head to soak for two to three hours, remove the bag, scrub the rubber spray nozzles with a soft brush, and run hot water to flush out dissolved mineral deposits.
What causes water pipes to bang loudly when a faucet is turned off quickly?
This hammering sound, known as water hammer, occurs when fast-flowing water stops suddenly, sending a shockwave through the piping system. It is usually fixed by securing loose pipe straps along floor joists or installing small inline water hammer arrestors near fast-closing appliances like washing machines and dishwashers.
Comments are closed.